Your own free transcripts: how to install Whisper.cpp on Mac OS

This article is at least a year old
Generating your own transcripts is a great way to take notes from meetings, transcribe a podcast or an interview, help organise your recordings.
- If you’re just looking for a quick, free, way to do transcriptions then the free podcast transcription website has a desktop app for you to download - or you can just use the website if you want.
But if you want to automate everything and build super-accurate transcription, for free, into your publishing process, and you’re not afraid of a terminal window, then the below is the tool we use.
Whisper uses a speech recognition model from OpenAI, and Whisper.cpp is an optimised version for speed. If you’re running an Apple-silicon Mac, it’s the best option - and here’s how to install it, so you can quickly run transcription from the terminal window.
You need Homebrew for this. Given that this is a terminal window application, my guess is that you already have it. But if not, you want to go to the Homebrew website and follow the instructions there to install it. It takes all the pain out of installing and maintaining software.
Install the program
First, install Whisper CPP and ffmpeg, a helper program you’ll need, by typing:
brew install whisper-cpp && brew install ffmpeg
There, that was easy.
Install the speech data
Second, you’ll need to download a model from here. A “model” is the actual data that does the transcribing.
The one that makes most sense, assuming your machine has enough memory, is the one called ggml-large-v3-turbo.bin which is about the same speed as “small” but significantly more accurate, approaching the speed of “large”.
Put this model file somewhere. I’ve put it in ~/tools because that’s where all my random publishing tools are.
I’ve also made a ~/tmp folder as well, to put temporary files in.
(If you didn’t know, ~ means “in my home folder”, so you can see it in the finder by going to your home folder, or opening Finder and typing SHIFT+CMD+H. Make a folder in there called tools and one called tmp, in other words, and then put that big .bin model fine you’ve just downloaded in the tools folder).
Run it
You’ll need three commands whenever you want to transcribe something.
export GGML_METAL_PATH_RESOURCES="$(brew --prefix whisper-cpp)/share/whisper-cpp"
This tells Whisper where to find some things it needs to run really quickly. Without it, your transcript will run much slower than you’d like it to.
ffmpeg -y -i youraudiofile.wav -ar 16000 ~/tmp/tempinput.wav
This uses ffmpeg to copy your audio file and make it into a temporary copy with a sample-rate of 16kHz. Whisper needs that to work.
Finally, you’ll want the command that actually does the transcribing.
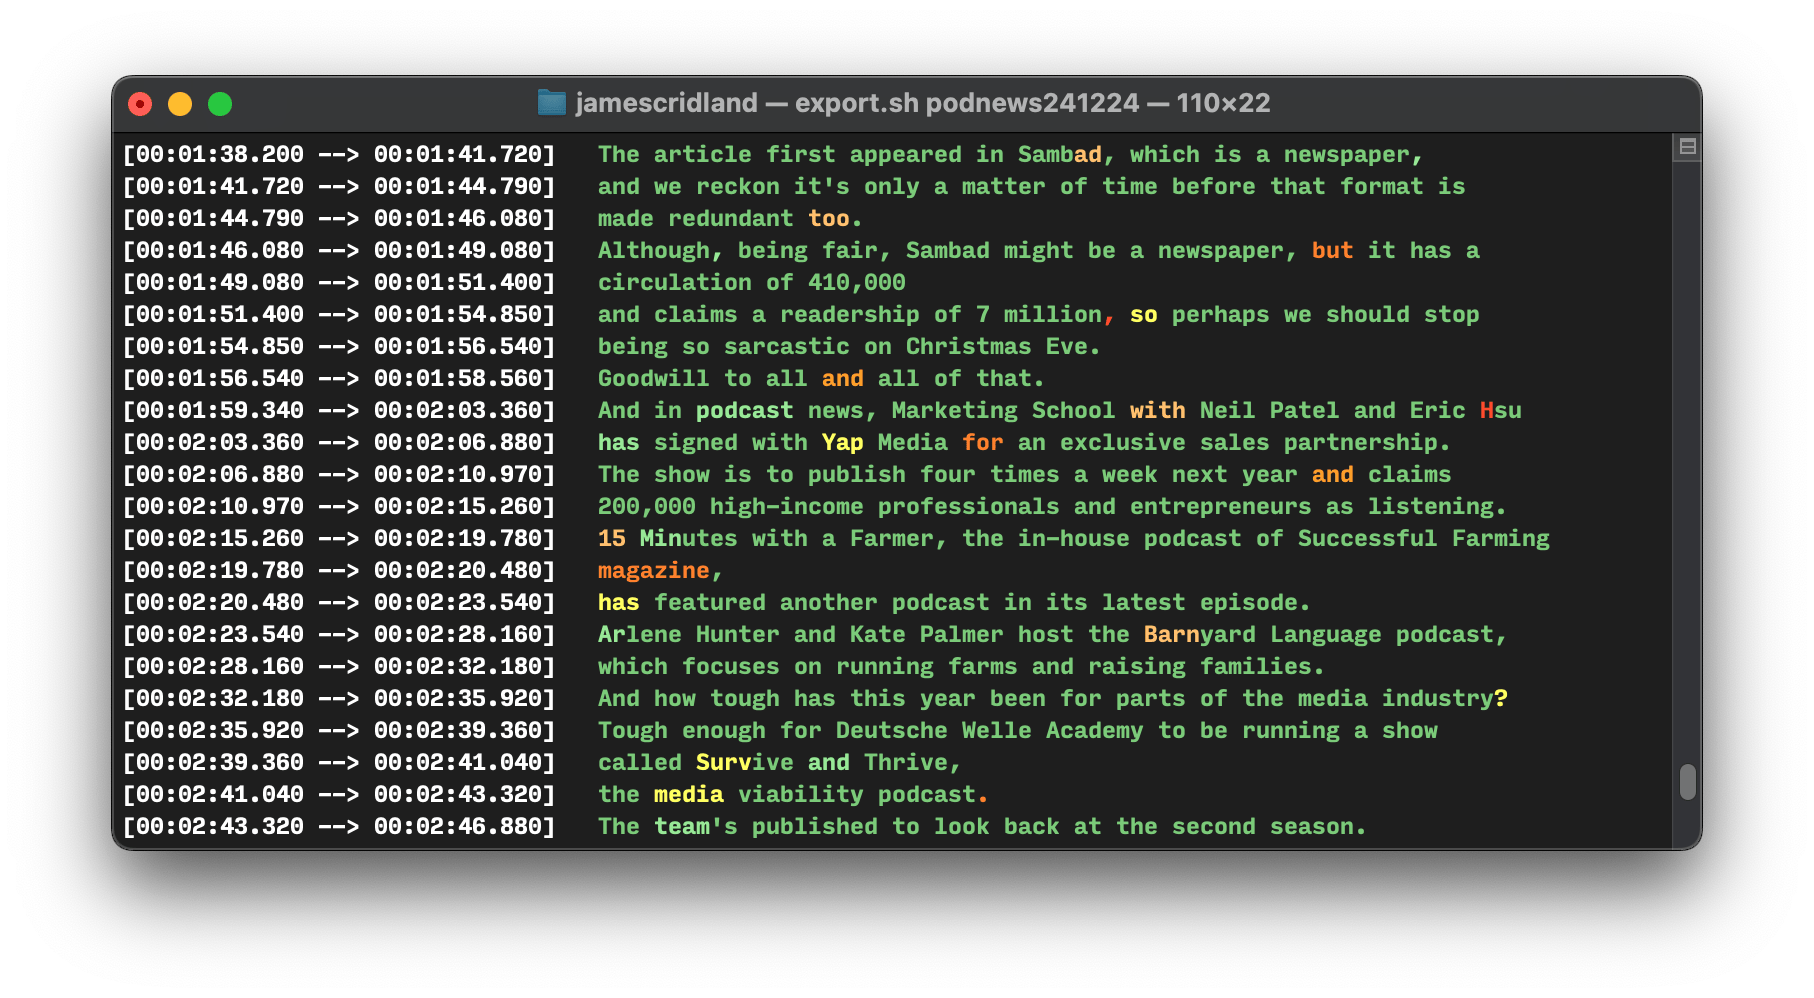
whisper-cpp --language en --print-colors --model ~/tools/ggml-large-v3-turbo.bin --split-on-word --max-len 65 --output-vtt --file ~/tmp/tempinput.wav --output-file ~/tmp/tempinput
In this, we’re printing some pretty colours while we do it (green shows certainty, red shows it isn’t that certain at all); we’ve told it that it’s in English so it doesn’t have to guess; and we’ve told it to output the VTT file (with a maximum 65 character length) to the ~/tmp folder. (The VTT file is the best format for everyone, trust me on this).

After you’ve run it, you’ll see a file in your ~/tmp folder called tempinput.vtt which is the generated VTT file. Super easy. It’s this file that you need to use for, say, podcast transcripts and other things.
I’m running an M2 MacBook Air - the “large-turbo” model is astonishingly fast, running making a 3min 20sec podcast in just over twenty seconds.
Just typing whisper-cpp into the terminal will give you all the available options. If you just want text, then here’s where you can also set it to output a text file.
We use this every day as part of a batch script that encodes and packages our podcast for everyone.


